> For the complete documentation index, see [llms.txt](https://docs.churned.io/churned-docs/llms.txt). Markdown versions of documentation pages are available by appending `.md` to page URLs; this page is available as [Markdown](https://docs.churned.io/churned-docs/co-pilot/how-to-setup-the-co-pilot.md).
# How to setup the Co-Pilot
Step by step description on how to set-up the CoPilots. Important is to first create the Co-pilot campaign to set it up for the right functionality.
{% stepper %}
{% step %}
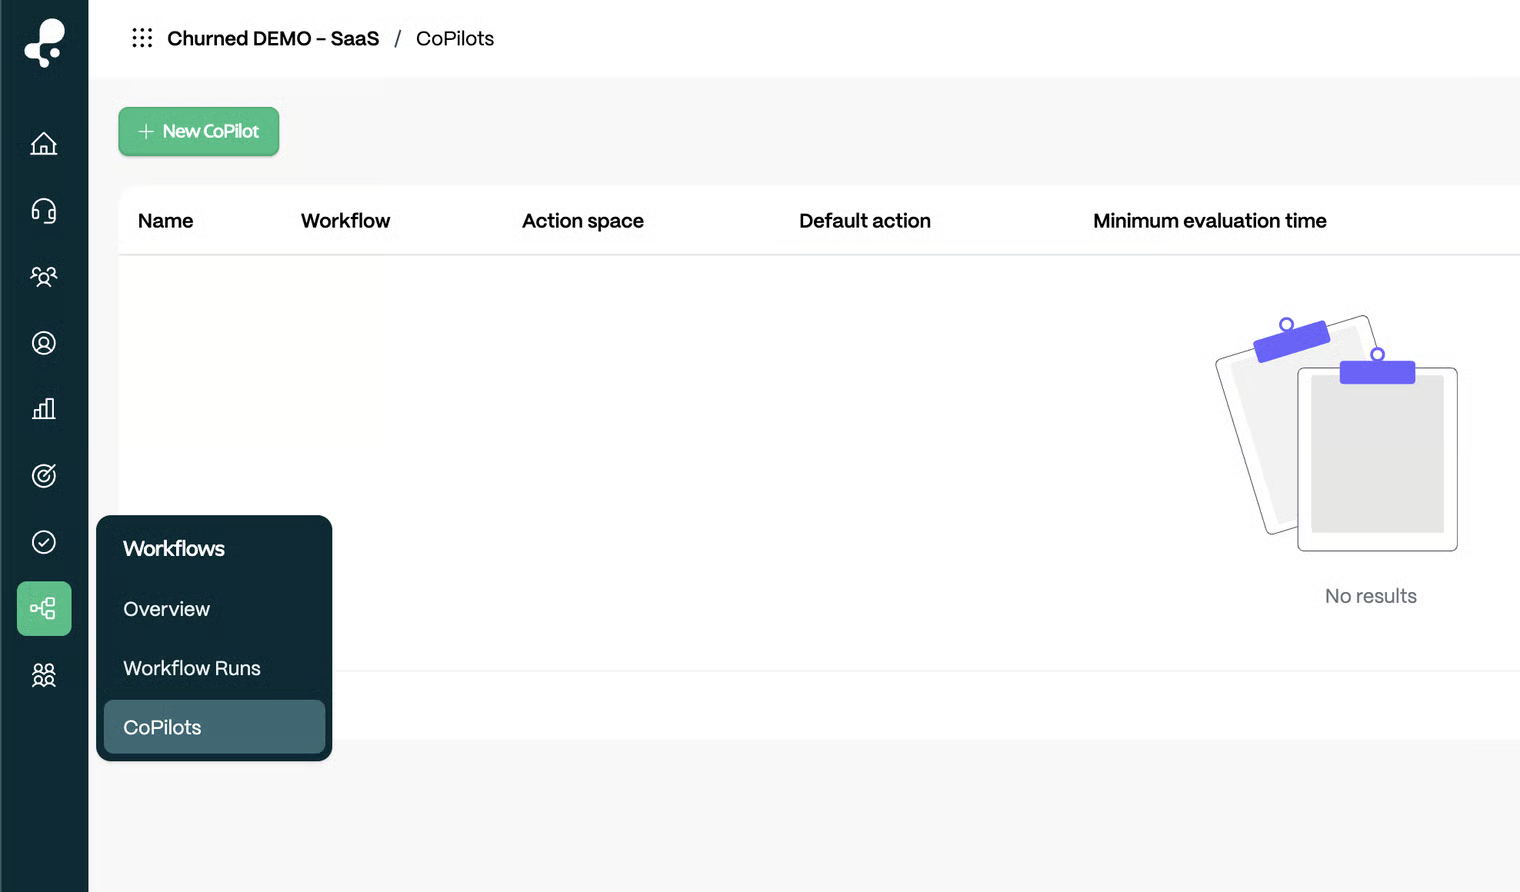
### Create the co-pilot and set the right Goal
{% endstep %}
{% step %}
### Set up the Co-Pilot settings
Name = Name of the campaign \
Action Space = the flow options\
Default action = what is the current default flow\
Minimum evaluation time = (Time before exploiting) can be set to 0 \
Target Type = Goal of automation/campaign
Hit 'create' to create your first engine!
{% endstep %}
{% step %}
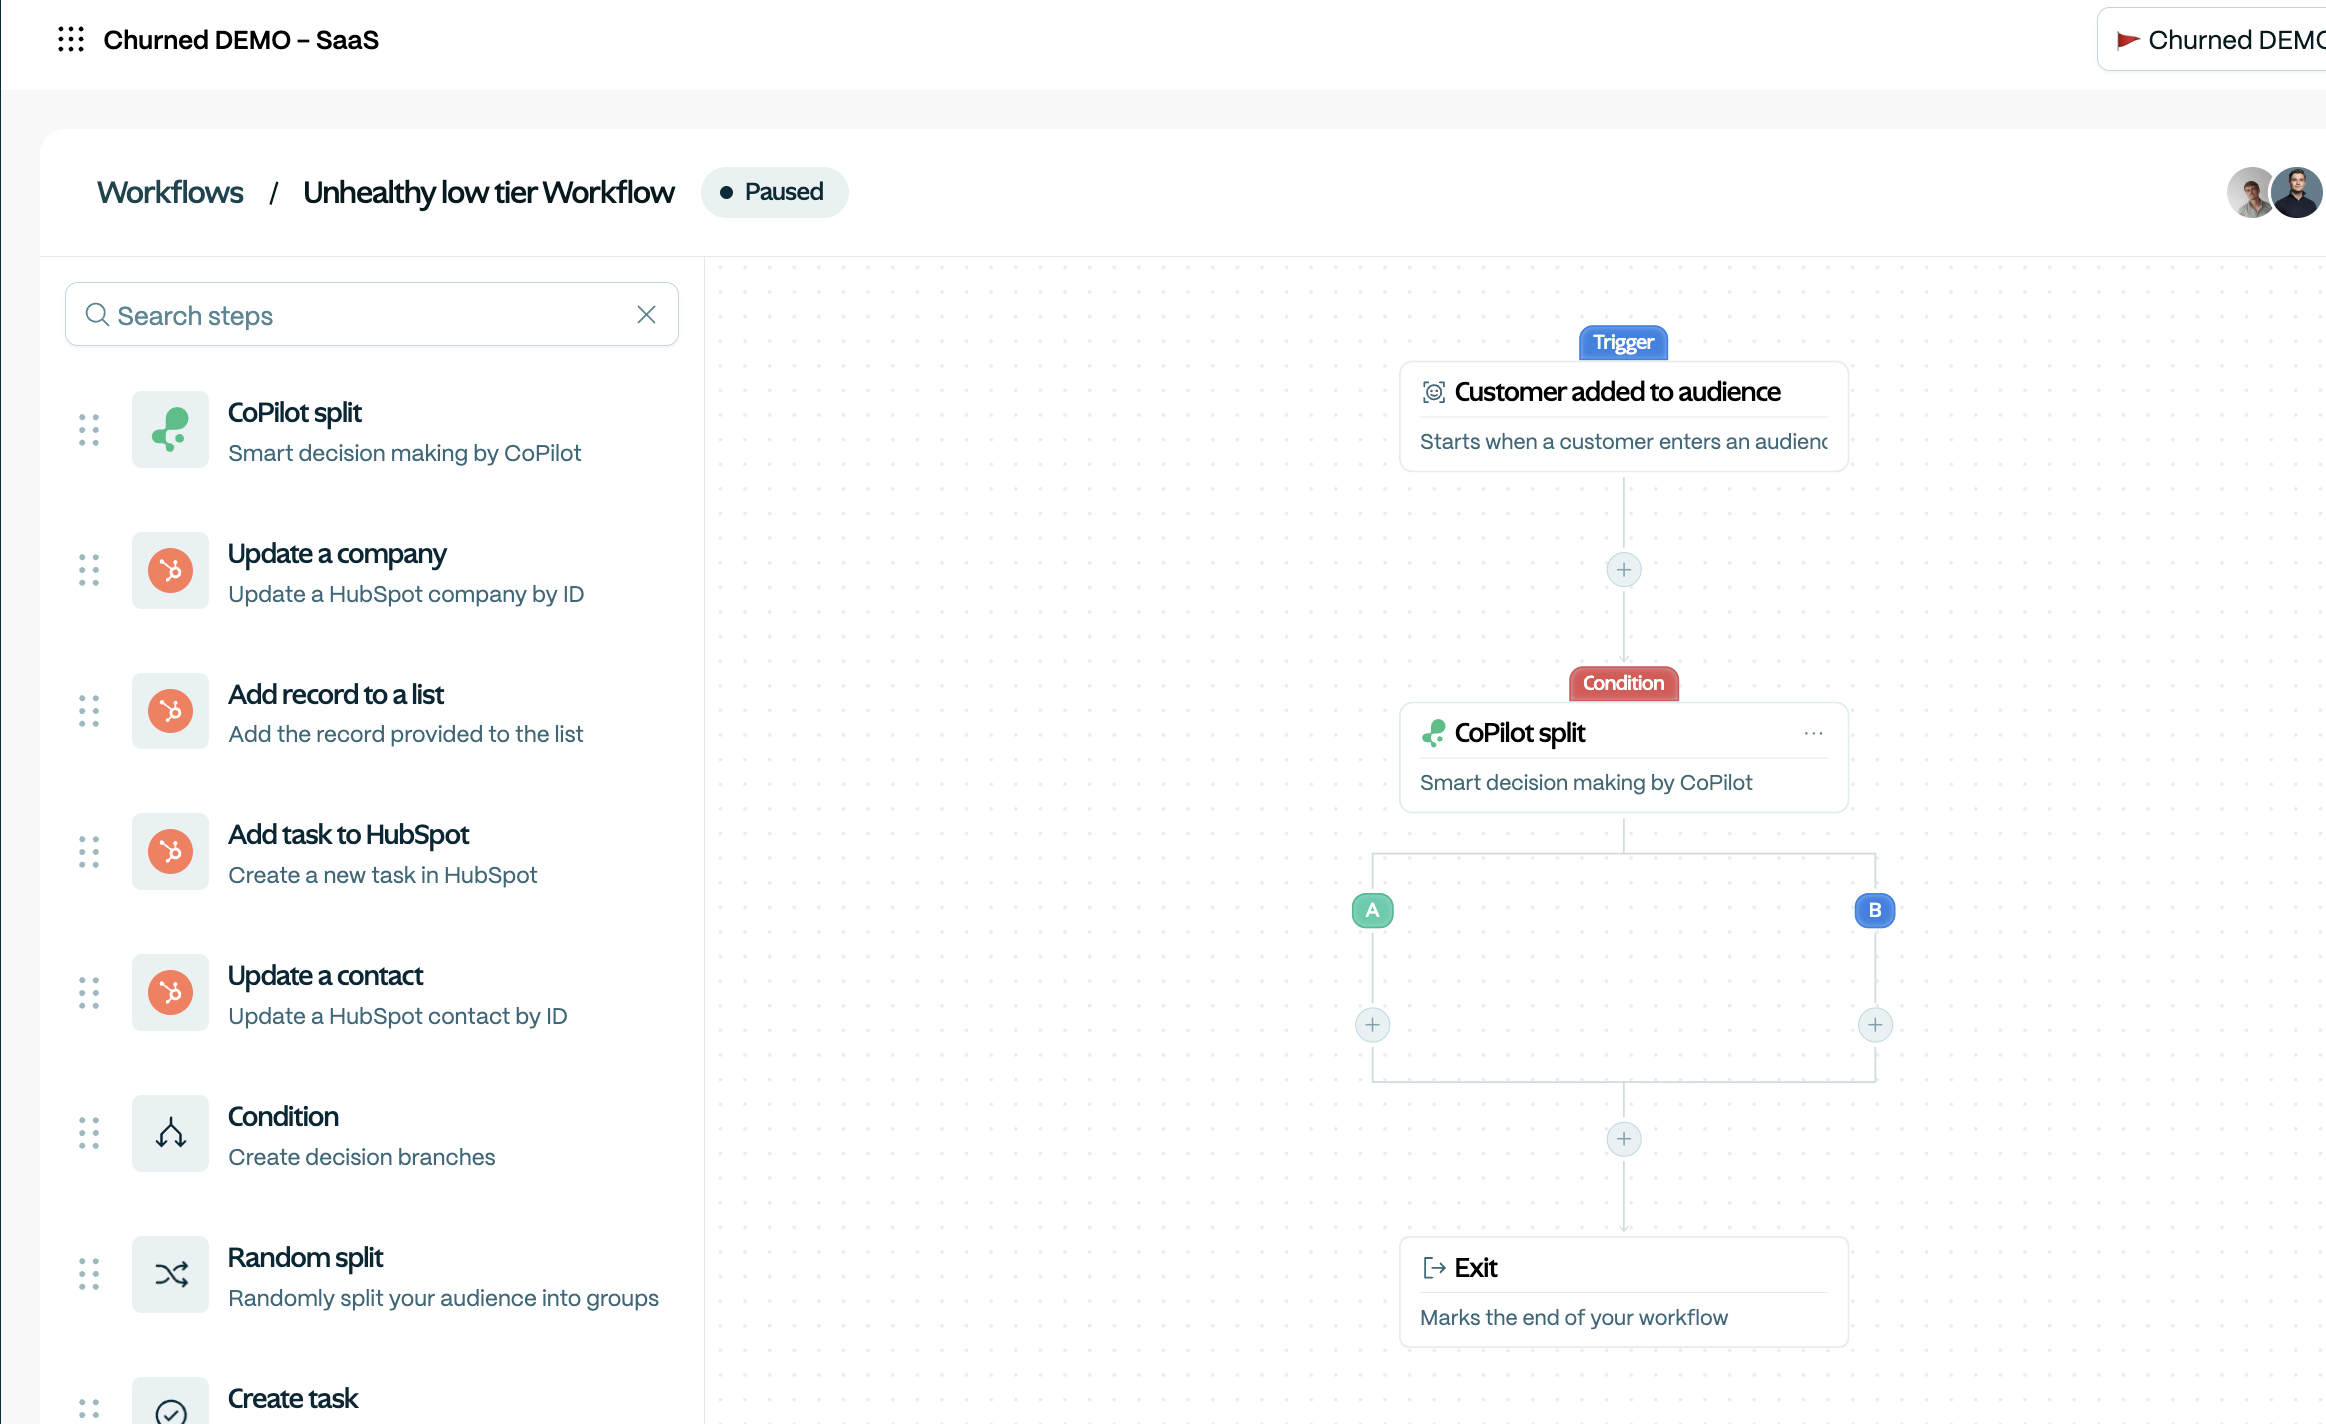
### Create your wokflow in the workflowbuilder and add the CoPilot split
{% endstep %}
{% step %}
### Set up the flows in the workflow builder
Select the Co-pilot you just created and select CustomerID and set up the amount of branches/paths you want to add,
{% endstep %}
{% step %}
### Finish up your different flows in the workflow builder
{% endstep %}
{% endstepper %}